Hello! As promised, here are some pics of our bridge we entered into Jackson State Univ’s Mathematics & Engineering Fair (Jackson, MS). We were amongst what appeared to be a lot of other folks that were just as clueless as us about bridge building! This is our first effort, so a win is a win, right? It is made entirely of 1/8″ square balsa. It weighed 0.1 lbs (~45 g) & supported just under 10 lbs. The top chord is 2 1/8’s stacked on top of each other.
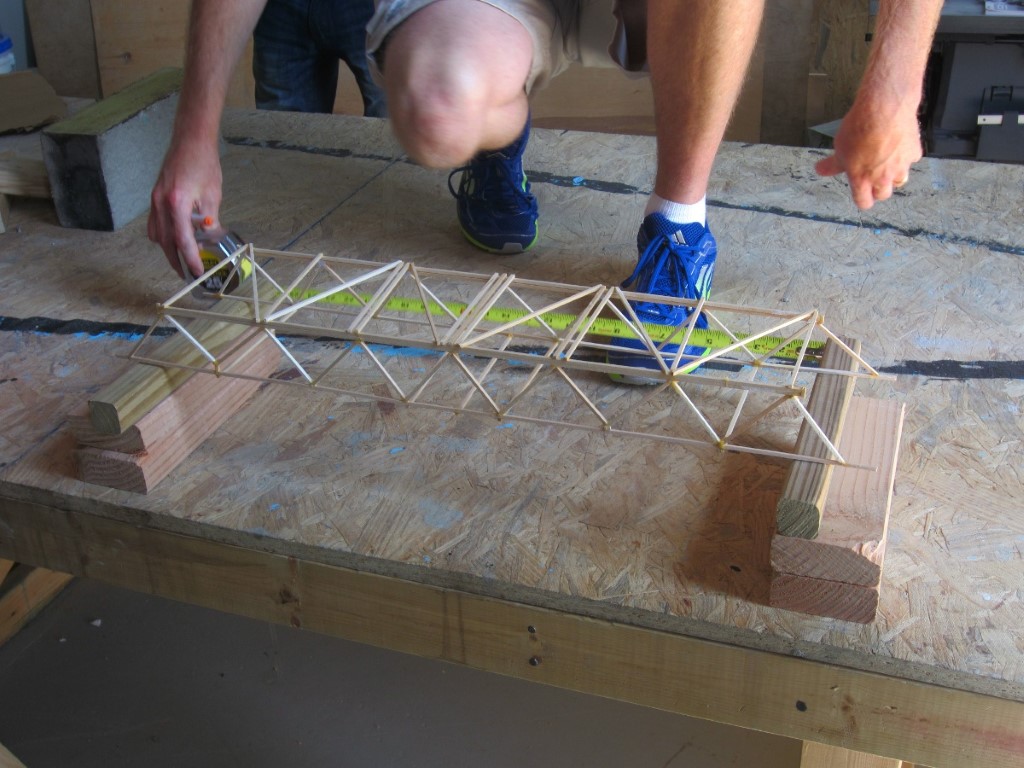
They were only glued together at the ends, per specified rules, although we learned later there was an unwritten rule that you could not stack pieces to make a thicker member, so we were penalized slightly..
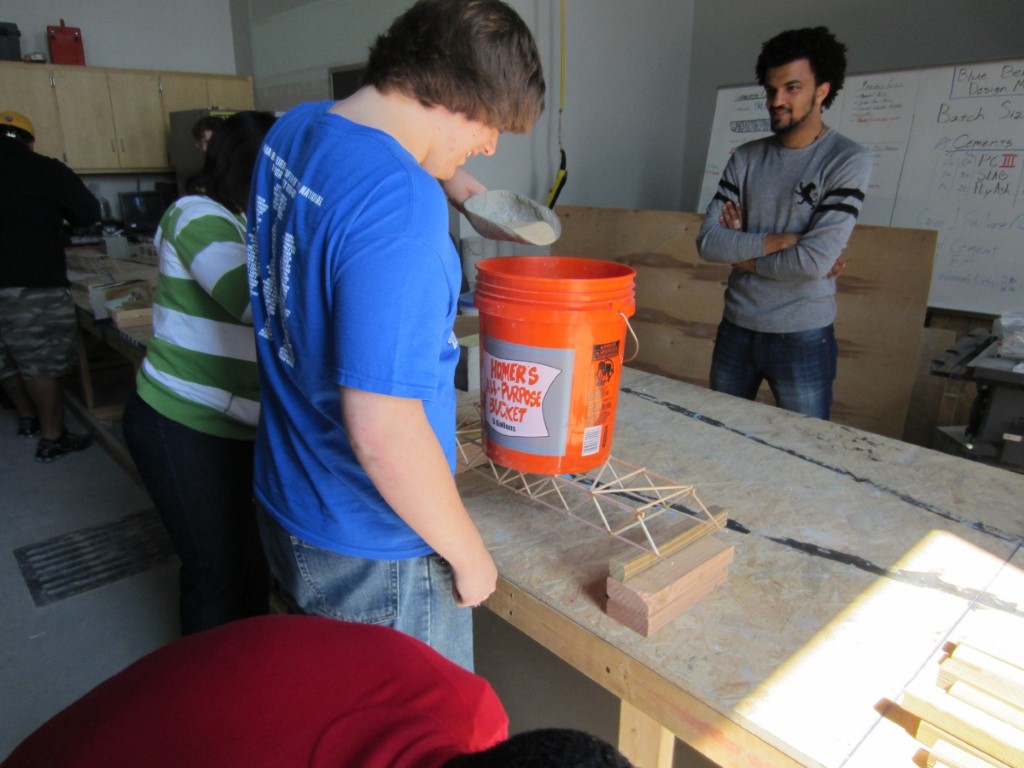
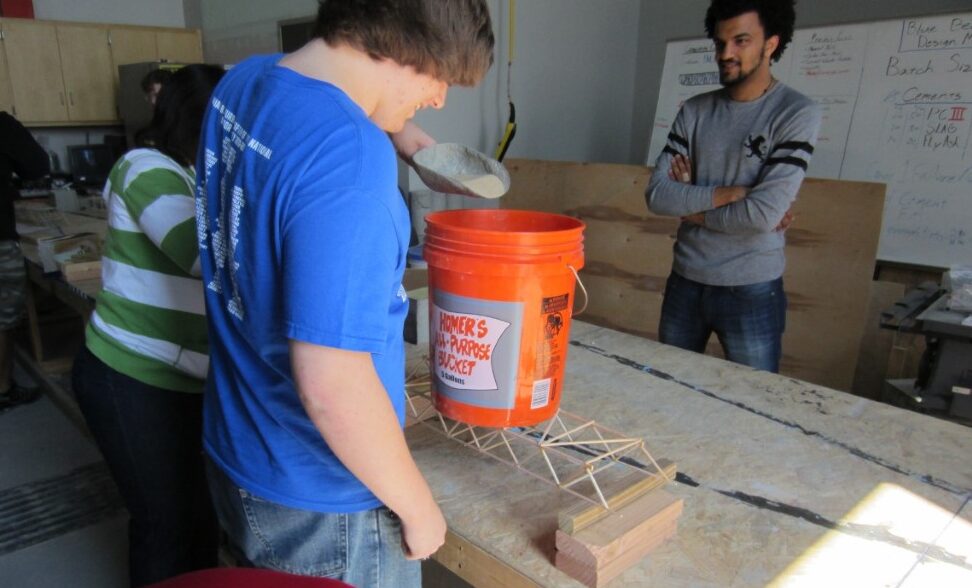
This next pic shows you the setup for the test: a 5 gal bucket is placed on the bridge & you slowly pour sand in until the bridge breaks. Max weight of 20kg. (my suggestion to dump a 50# bag all at once was not accepted)
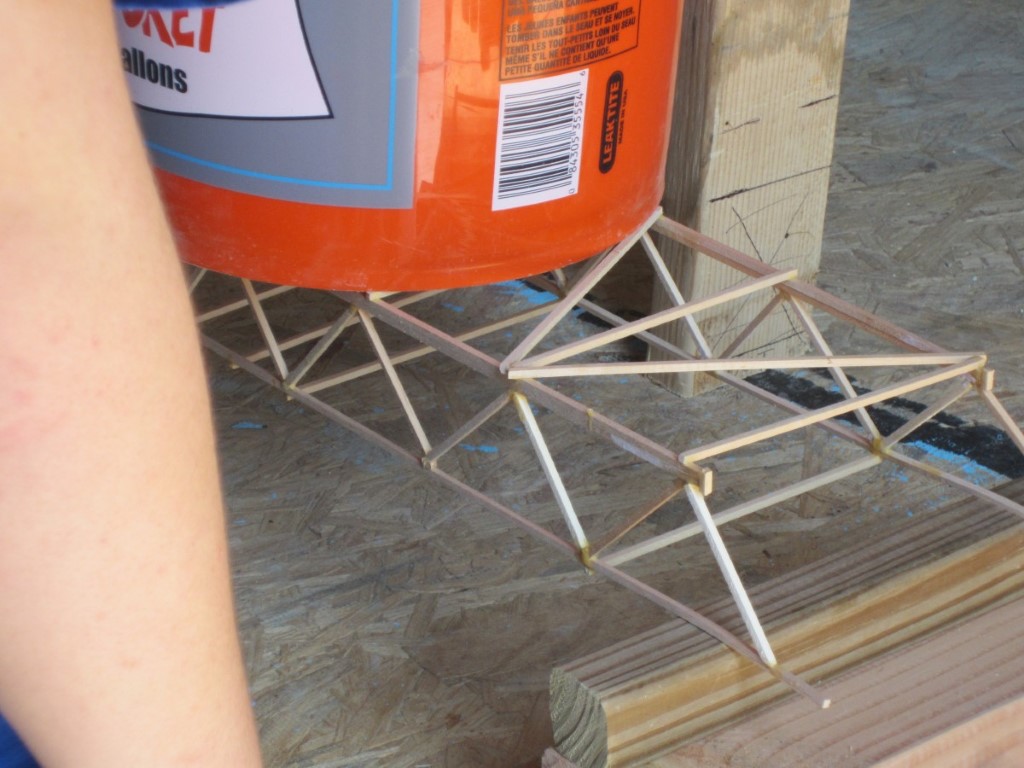
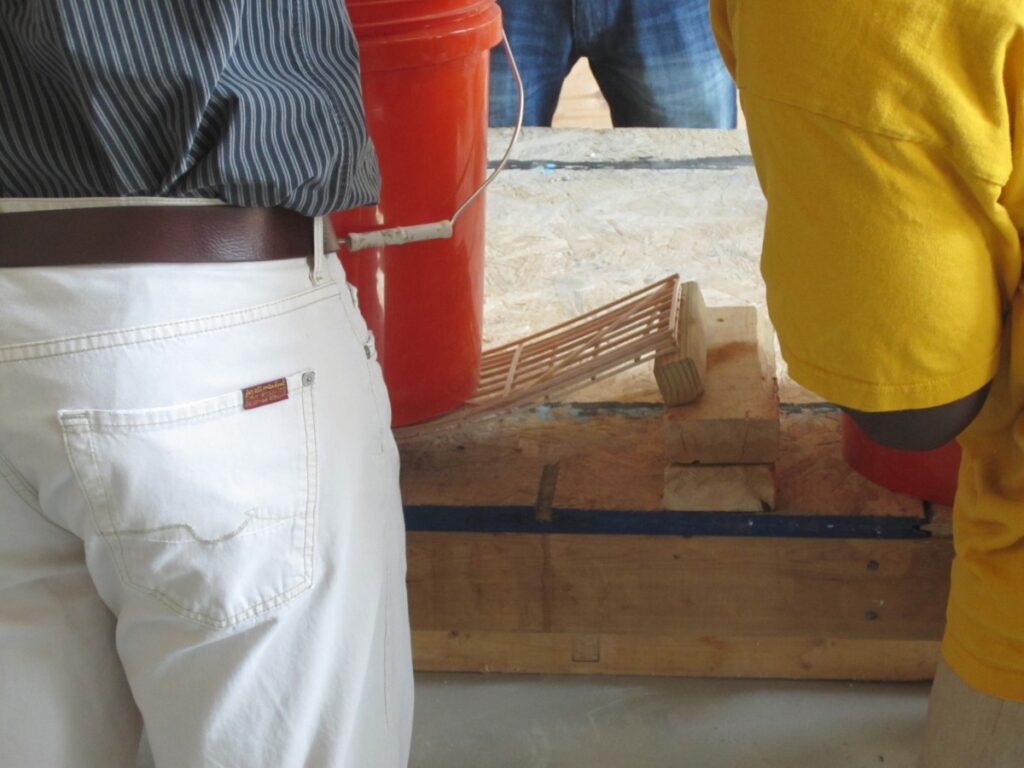
We were unaware that the footing for the bridge would be 2″X2″s, & as fate would have it, they hit right in the middle of our trusses. You can see how it is flexing in between trusses along the bottom chord. This was ultimately the failure point. Otherwise, the bridge actually stayed very straight underneath the load.
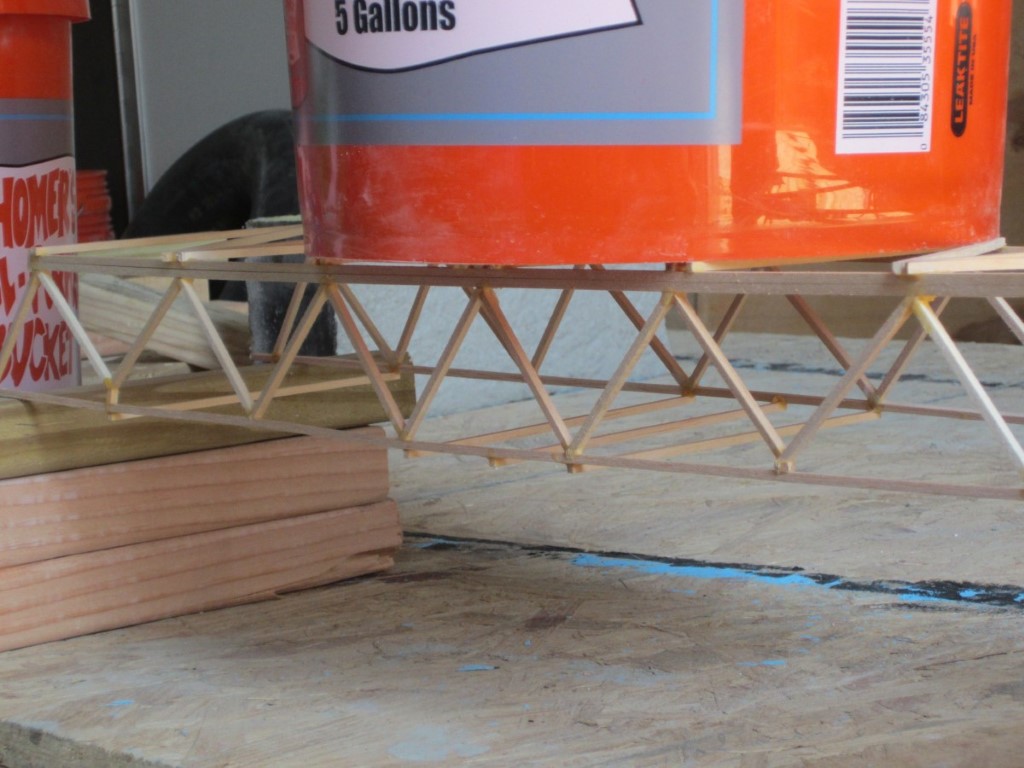
Here you can see it holding up well:
In the specs for the bridges, the organizers did not specify a minimum height requirement, & 1 of the other teams took this to the extreme & built basically a pallet:
It was a great learning experience for us & has encouraged me to start a club next year where we do little beyond build bridges & towers!
Garrett Adds
Thanks for sharing! It is too bad about the unknown rule about doubling up the sticks. Your lateral bracing on the top and support for the bucket look really good. Another thing that probably would have helped is to have lateral bracing on the ends of the bridge as you look through it. This would stabilize it and help keep it from leaning or falling over sideways. You mentioned that the bridge failed because the supports (2x2s) caused a lot of shear pressure on your bottom chords.
That beam bridge is interesting, and it reminds me of a conversation I had recently with an engineer. He was saying that in real life they try to design bridges so that the mode of failure is gradual, and not sudden. It is hard to do this with model bridges, as most often they look pretty good and before you know it they just explode. But that beam bridge has enough flexibility built into it that you can definitely tell when it is having problems way before it actually breaks. Flexibility is the only plus to using hot glue. I’ve seen a bridge hold up a lot more weight simply because it did not break at the joints due to the flex in the glue than if it had used a harder glue, such as wood glue or white glue.

Thanks. It doesn’t sound like they change the specs much from year to year, so you can bet we will be prepared next year! I hope to have a couple teams submitting competing bridges. I have seen the lateral bracing & totally forgot about it in the design. I have gotten the green light for an engineering club for next school year, so I am will be doing a little bridge work this summer. And yes, that beam bridge definitely gave a great deal of warning before breaking!
Can you publish the design?
Hi, could you put the steps to building the bridge, I would like to test your bridge and maybe use it. Thanks!